Hey there, aspiring real estate photographer! Are you ready to dive into one of the most exciting and rewarding niches in photography? Whether you’re just picking up your camera or looking to branch out into real estate photography, this article will give you all the essentials to get started. From the tools you’ll need to some practical tips, we’re covering everything to help you hit the ground running. Let’s jump in!

Why real estate photography is a great niche:
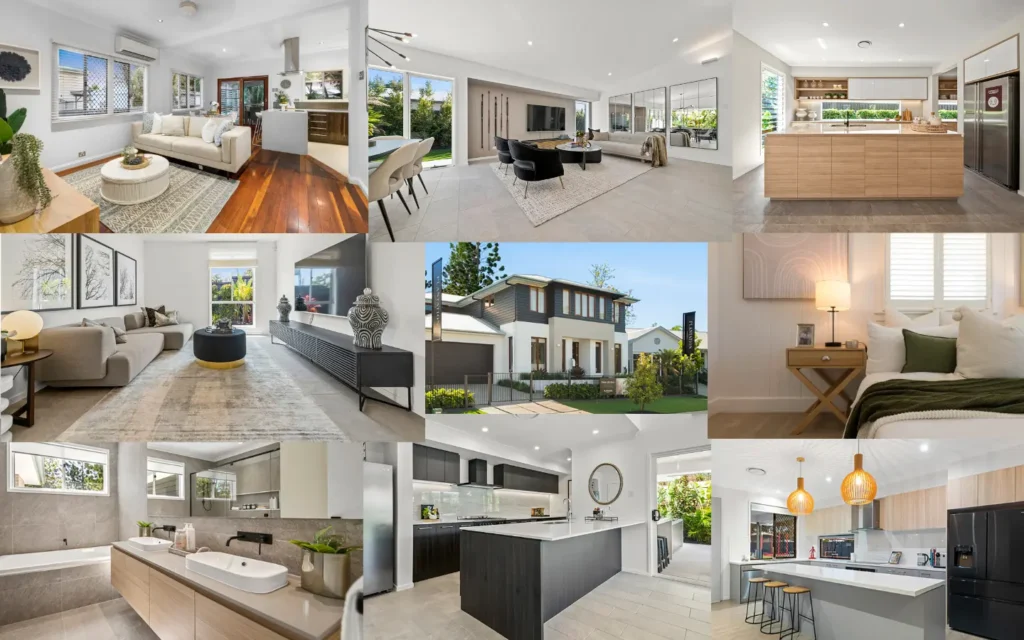
Real estate photography is booming! The demand for high-quality listings is constantly increasing, meaning the opportunities are huge. Homes with professional photos sell faster and often for more money, making you an invaluable asset to real estate agents. Plus, every property is unique, offering constant creative challenges and rewarding experiences.
Essential gear for real estate photography:
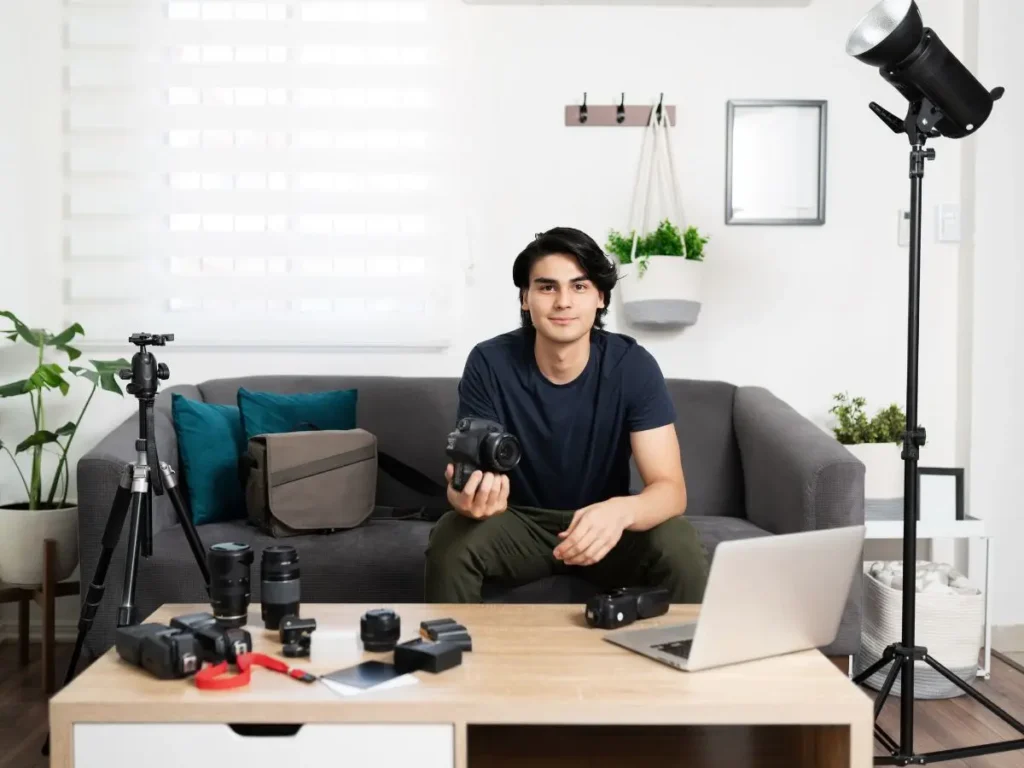
You don’t need to break the bank to start, but a few key pieces of equipment will significantly improve your results.
- Camera: A DSLR or mirrorless camera with manual settings and RAW shooting capability is essential. Good beginner options include the Canon EOS R50 or Sony Alpha a6400.

- Lenses: A wide-angle lens (14mm-24mm focal length) is crucial for capturing entire rooms and creating a sense of spaciousness. The Sigma 14-24mm f/2.8 is a popular choice.

- Tripod: A sturdy tripod is absolutely necessary to eliminate camera shake and allow for longer exposures in low-light conditions.

- Additional Tools:
- Remote Shutter Release: Prevents camera shake from pressing the shutter button.

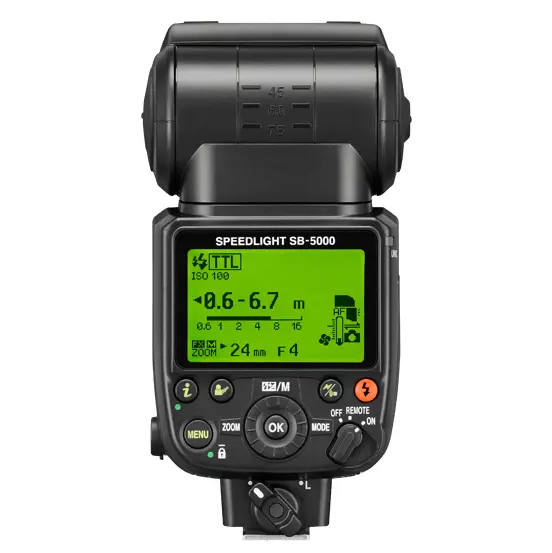
- Flash or External Lighting: Essential for balancing light and illuminating darker areas.
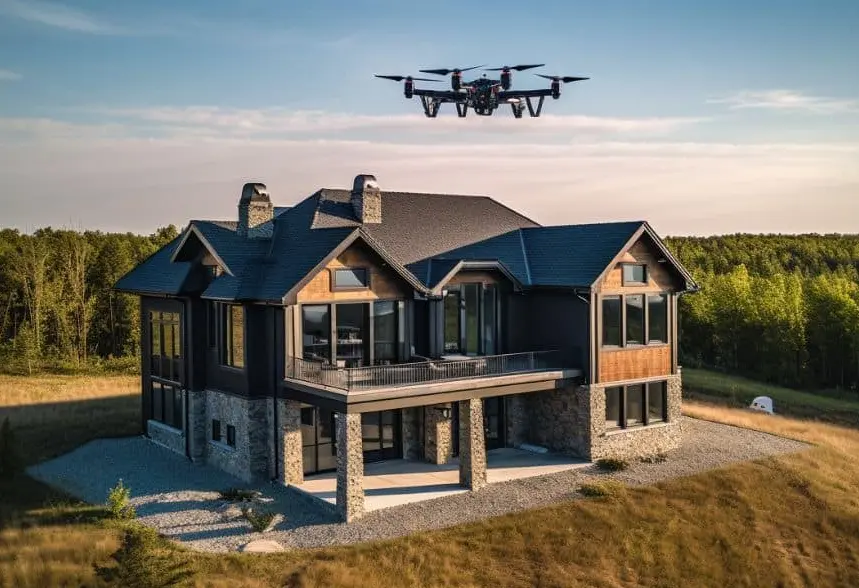
- Drone (Optional): Great for capturing stunning aerial views, but not essential to begin.
Preparing for your first shoot:
Thorough preparation is key for a successful shoot.
- Scout the Property (if possible): Visit beforehand or ask the agent for photos to plan your shots.
- Communicate with the Agent: Discuss which features they want to highlight.
- Pack Smart: Double-check batteries, memory cards, and all equipment.
- Basic Staging: While not your primary role, knowing how to subtly tidy or remove distracting items will make a big difference.
Basic techniques to start strong:

Mastering these basic techniques will elevate your photography significantly.
- Shoot at Eye Level: Aim for 4-5 feet for most interiors to avoid distortion.
- Prioritize Natural Light: Open blinds and curtains to maximize natural illumination. Use flash or supplemental lighting only when needed.
- Careful Composition: Keep lines straight using your camera’s grid to ensure professional-looking photos.
- Experiment with Angles: Capture a variety of shots—wide angles for overall views and detail shots for unique features.
Post-processing enhances your images. Focus on:
- Cropping for symmetry
- Colour correction
- Exposure adjustment
- HDR blending (for blown-out windows)
How to practice:

Practice is crucial! Start by photographing your own home or those of friends and family to build your portfolio and gain confidence.
With the right gear, preparation, and practice, you’ll be capturing stunning property photos in no time! Don’t forget to check out [link to checklist/resource] for a free Real Estate Photography Prep Checklist. Happy shooting!
Are you a Real Estate agent in need of photos or videos? Capture the attention of potential buyers with professional real estate photography and videography. Contact me today to schedule a shoot and elevate your property listings.